SCREEN PRINTING
SCREEN PRINTING
Brentwood Embroidery takes your vivid ideas and puts them down with ink. Our full service screen printing department can literally take your art and transfer it to any type of garment. It’s amazing to see how your design makes the transition from concept to production. We find it truly rewarding when customer is blown away with the quality of their design. Your smile tells it all.
We are excited to grow and change with the industry. Screen printing equipment companies are always coming out with new machines and technology. It’s fun to implement the latest industry standards to the production test. Sometimes these theories work for our company and sometimes they do not. The help from my professionals are available to help our company stay on the leading edge of the printing industry.
Currently we use the latest technology in automatic screen print equipment. We use both automatic and manual presses to produce screen printing designs.
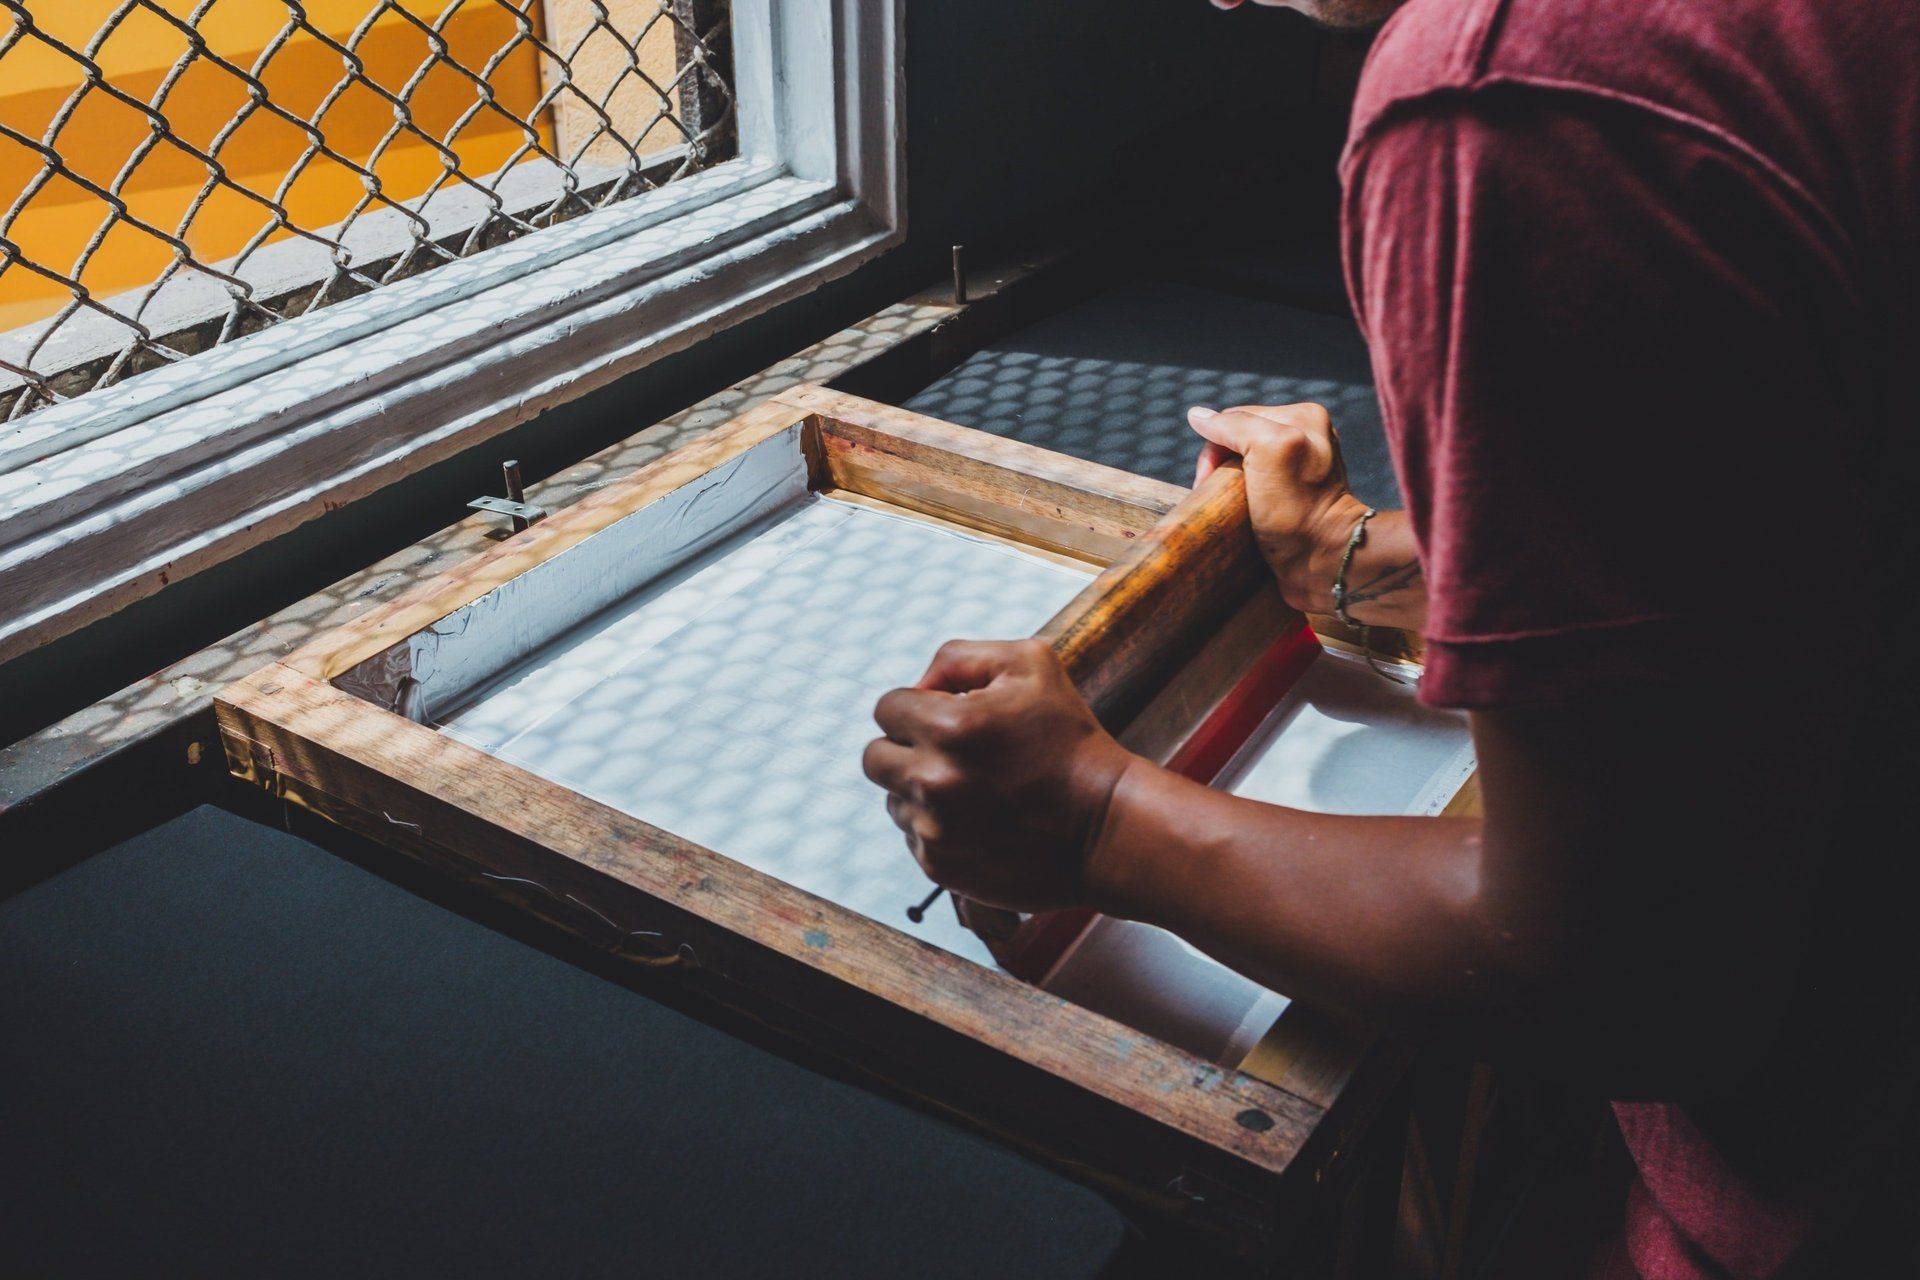
THE PROCESS
Along with the many details for processing an order, there are a number of steps that happen between print request and the packing of the finished screen printed product.
- Review Art Submission - There’s a number of guidelines and standards we use to determine if a piece of art will print well. We’ve developed these standards based on our experience over the years. We review each piece of art and offer suggestions and recommendations for better printing if necessary.
- Art Proof - Once we receive your art that is suitable for printing, we can forward a design proof. We will set up an art proof for you showing a mock up of the design on a virtual garment. This garment will include the style and color(s). On this proof, we will list out the exact imprint sizes and list the pantone colors we intend to use. The mock-up is an estimate for sizing and location, so if you have any questions or concerns, please let us know!
- Color Separation and Film Output - For each color in a design, we produce a piece of film that will become an individual screen. Each separate screen is put on the press and loaded with a specific color to be printed. The process for extracting a single color from the art is called color separation. Once the art is separated, we output a film positive for each color.
- Pre-Press Meeting - Artistic technical demands have been a huge factor in the direction screen print technology has taken. On numerous occasions for prints at a high difficulty level, we hold production meetings to discuss finer points of the design, troubleshoot potential press problems and come up with a plan for executing the print as exactly as possible with the first set up.
- Screen Exposure - Screen exposure or “burning screens” is the process of creating a screen stencil from the image on the film. A pre-stretched screen is coated with a photo-reactive emulsion and dried. The film is then adhered to the coated screen and exposed to high intensity light for a defined period of time. After exposure, the screen is sprayed with water to remove the emulsion from the image area.
- Screen Prep for Production - Once the screen has dried from the wash out, we prep it for the production run. We apply a gooey liquid that dries solid, called block-out, to the emulsion areas outside of the design. This prevents the occurrence of pin-holes (tiny holes in the stencil that allow unwanted dots on a shirt) and helps stabilize the stencil for the entire production run. The edges of the screen are taped off to prevent other ink leakage and allow easier clean-up.
- Mixing Ink - While the film is being printed and the screens are being made, the ink department is pulling the ink and stationing it in a holding area for the press operators. Since plastisol inks don’t dry out, we can keep pantone mixes on the shelf ready to go. Should a particular pms color run out, a new batch is mixed up.
- Set up - There are a lot of variables that are addressed each time a screen print design is set up on press. Depending on the design and desired outcome, press operators consider the amount of off-contact, squeegee speed, squeegee angle, durometer and other technical aspects of screen print. After the initial set up, these settings are recorded so the set up takes a fraction of the time for a re-order.
WHAT KIND OF ART IS GOOD FOR USE IN SCREEN PRINTING?
There are three industry standard programs used for creating graphics for screen print – Adobe Illustrator, Adobe Photoshop and Corel Draw. Please see below for art submission guidelines.
We can also scan drawings, already printed tees or other flat images you bring in depending on the design and desired print quality.
ADOBE ILLUSTRATOR and COREL DRAW
- vector graphic images – shapes created using paths instead of pixels
- all fonts should be converted to outlines
- embed any linked files, but also provide the support file separately
- Illustrator can also create very complex vector images that may end up being separated in Photoshop.
ADOBE PHOTOSHOP
- raster images – design elements created using pixels instead of paths
- best for very complex graphics or photographic images
- images be created at a minimum of 150 dpi at print size
- up-sampling web images does not make the graphic use-able for screen print
COLOR SEPARATION
Art for screen print is split out according to it’s individual color components in preparation for press set up. Art separation or color separation is the process in which we convert digital art files into screens for printing. There are different levels of complexity in the art we receive and this level is complexity is reflected in the process of conversion. We’ve defined these levels in four different groups. Send your art over for an assessment of complexity and potential art fees for separation. Below are the basic groupings – these groupings are guidelines. Final assessment is based on final art submitted.
- One Color - There is no color separations when printing a one color job. The film and screens are identical to the art that we receive.
- Spot Color - Spot color separation jobs are 100% vector files and usually are no more than three or four colors. The process of assigning pantone colors is straightforward and the number of colors is easy to count.
- Spot Color with Halftone - Spot color with halftone separations are the next notch of difficulty after spot color. These designs are simple, but contain halftone shading and/or gradients.
- Complex Spot Color - Complex spot color jobs have usually been created in Adobe Illustrator as vector files, but involve gradients, layers, embedded images, transparency or other effects. The level of difficulty can vary greatly within this category, which is why we ask that all art be submitted for quoting.
- Four Color Process - Four color process prints specially formulated inks in the colors of cyan, magenta, yellow & black to simulate how a regular ink jet printer would print. The inks are transparent, so this process can only be used when printing on white or, in certain cases, light garments. The images that call for this process are usually photographic or fall under the most difficult of the complex spot color realm. Often times, spot colors are added to the four color process ink print order for increased vibrance and saturation.
- Simulated Process - Simulated process is the screen print color separation solution for printing photographic or very complex, color rich graphics on colored garments. This process usually requires 8-11 screen colors and uses print techniques such as “wet-on-wet” printing to blend different spot colors into shades or other colors.